Materials:
one yard of fabric
half of a yard of boning
a small amount of fabric for the pocket (usually white or another light, neutral color and a softer material)
2 - 1" D rings
thread
2 cloth diapers/burp cloths (optional)
Measurements:
26" x 36" cut out
2 1/2" x 10" strip
2 1/2" x 18" strip
2 - 7 1/2" x 20" cut outs (for the burp cloths if you so desire)
9" x 9" for the pocket (using the other fabric)
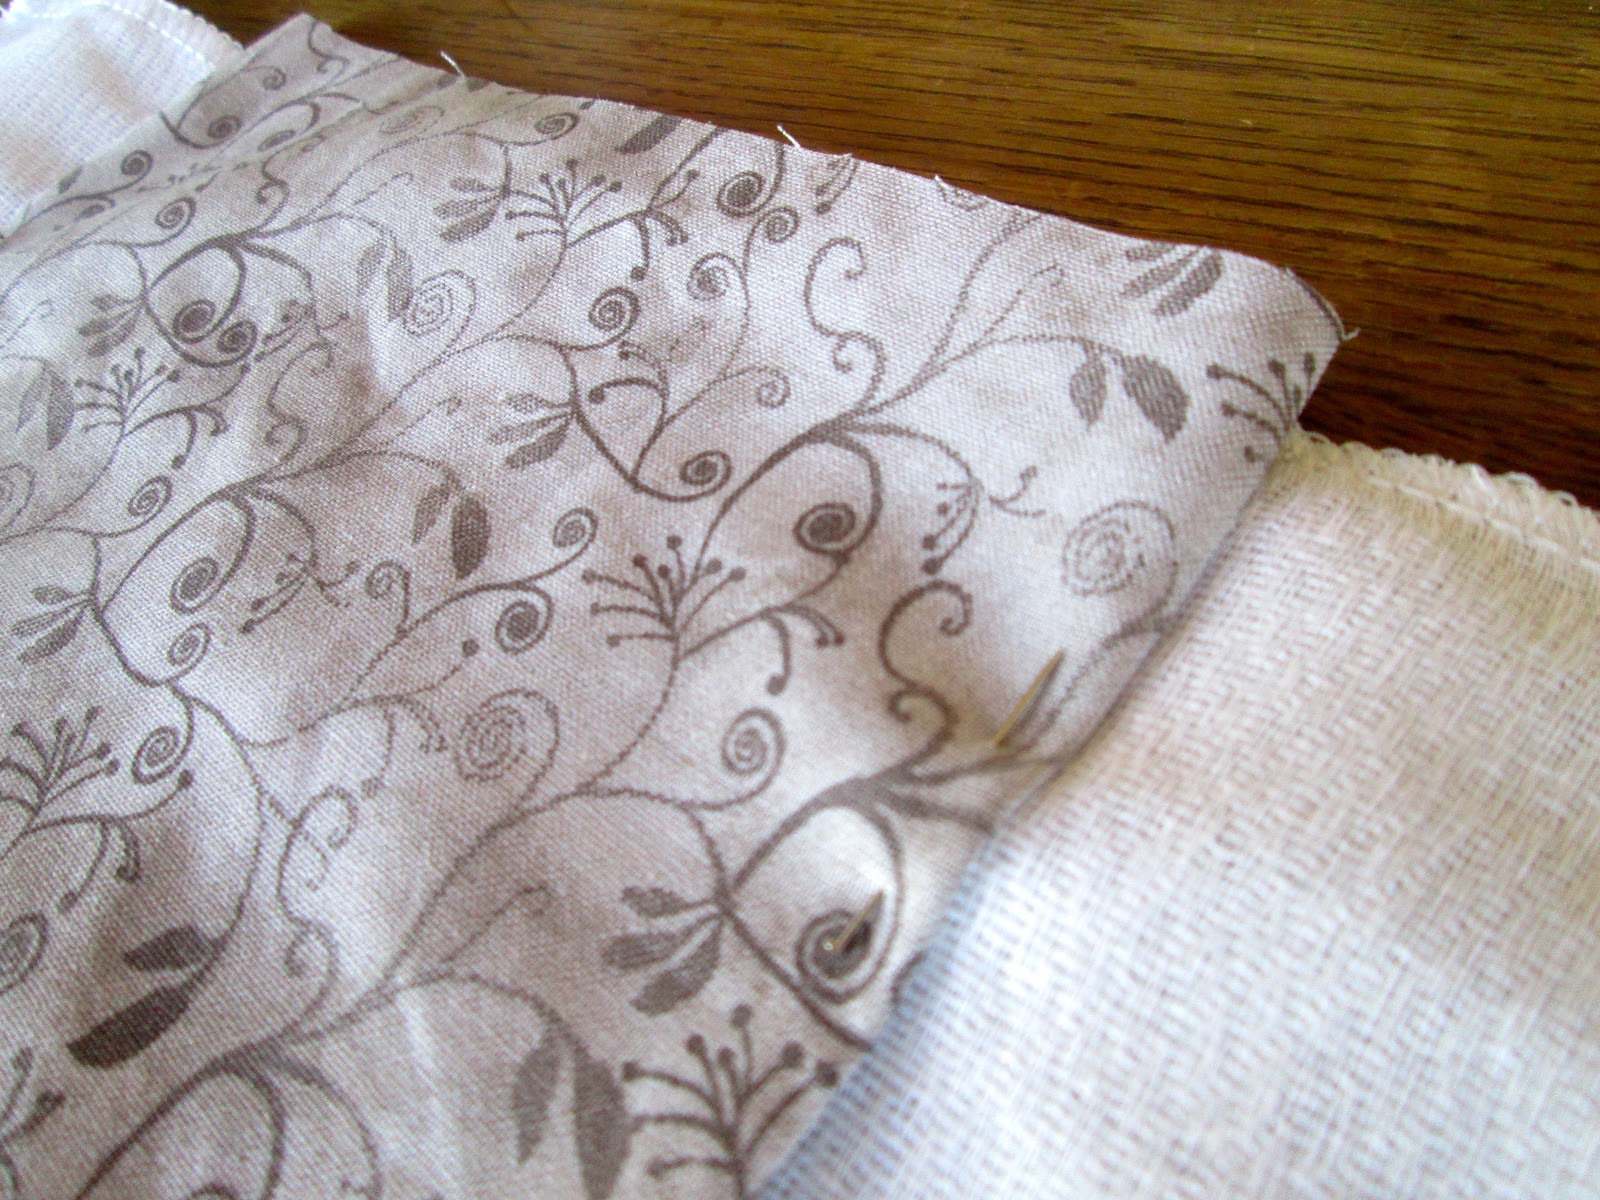
First, cut out all those lovely pieces. Then we'll start with the big piece. I always start with the sides of the piece first. When the hooter hider sits, the sides will be the shorter length. Fold down the fabric about a 1/4" all the way down the side. (I use my fingernail to press a crease into the fabric.)


(Do you see my tiny little arrow on the 1st picture? Put the corner of the pocket on that creased corner.)


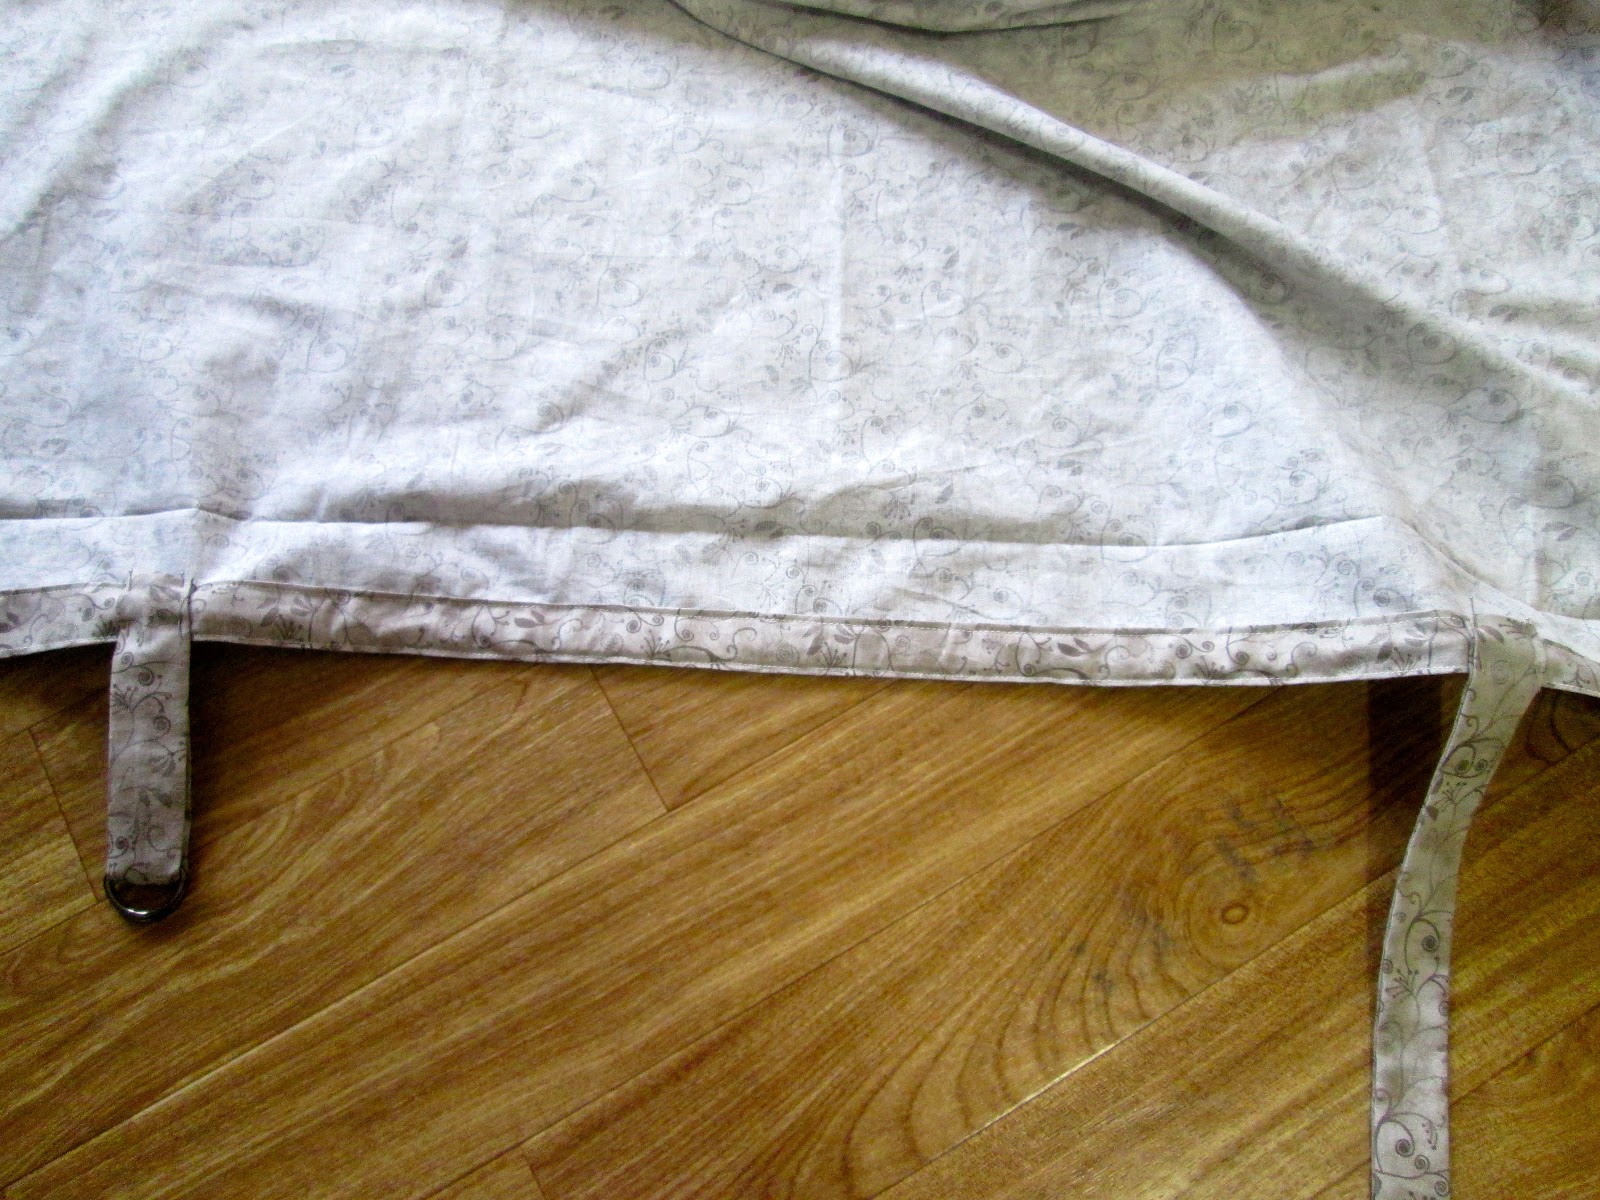
Now let's move to the top. Fold the fabric 1/4" down first, like how we did on all the other sides. Then you'll fold it over again but wider so that the boning will fit through it. This will usually be about an inch wide.

You'll want to sew the bottom side of the fold over and the top side, so be sure to leave enough room for those stitches, and also be sure to have the top stitching be right close to the edge.

Then slide the boning in there. Make sure it's right in the center. It will stay there because we are putting our straps on each side of the boning.
So let's move on to the straps. Fold both straps in half length-wise and then sew. That's it for the shorter strap, but for the longer one, sew one end of the strap as well.


Once those are sewed you come to my least favorite part. Now you have to turn those babies right side out. You can do it using whatever strategy you think works best. For the longer strap I usually use a pencil or pen to help me.


When they're turned right side out, iron them flat. Then fold a tiny bit down for where you'll attach it to the hooter hider. You'll fold down the unsewn end of the longer strap and both ends of the shorter strap. Before you pin the shorter strap on, slide the two D rings on there and then pin it on the hooter hider folded in half. It doesn't really matter which side you pin each strap onto, just be sure to pin them right at the edge of your boning. (Come to think of it, I usually pin the shorter strap onto the right side of the hooter hider because most people are right handed so it's easier to strap on. But either way works.)


Sew those little lovelies on there. They will usually be harder to sew on because of all the material you're trying to sew through, but just give the fabric a little push or a pull if it needs it. I go all the way around where those straps attach twice, so it's making two squares.
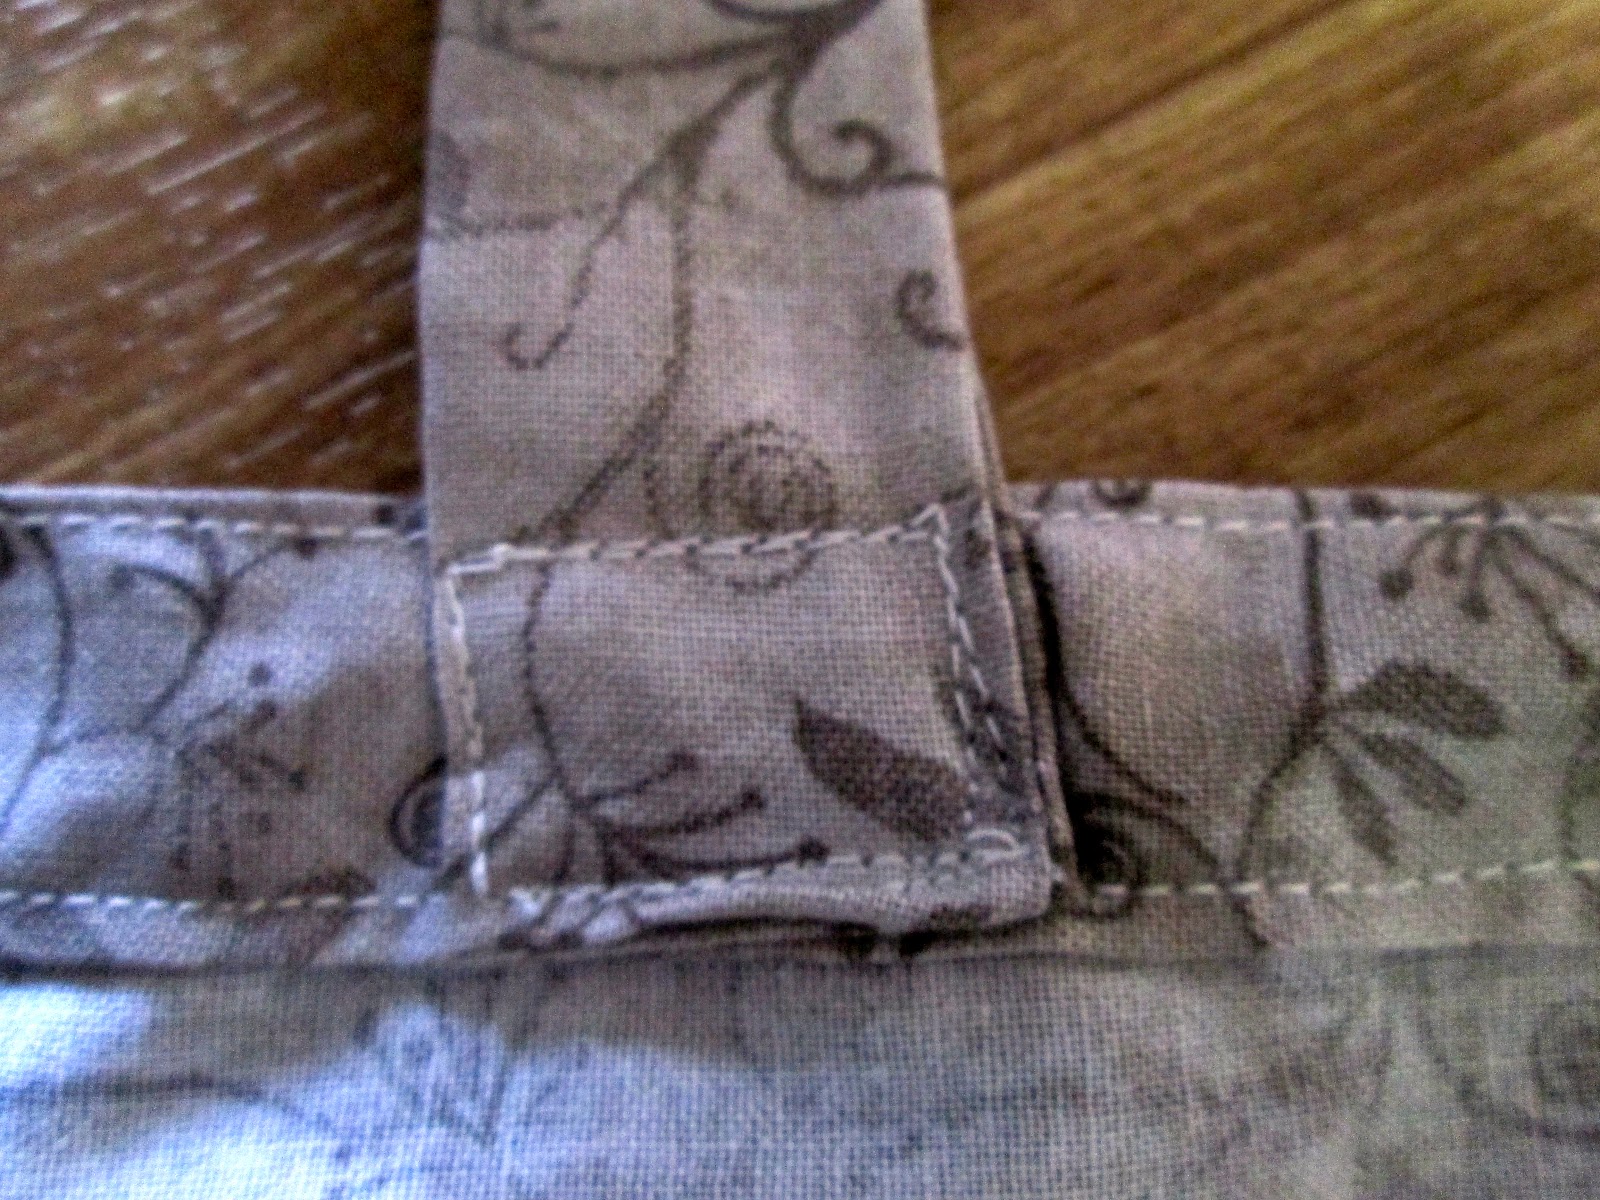
After the straps on on there, sew a little line right up by the D rings so they don't have very much sliding room. Otherwise it gets tricky to have them stay in place.

Last step on the hooter hider - back to the pocket. Use a ruler or measuring tape or whatever so you can measure it evenly. I've found that the entire length of the pocket piece is about 12", so I make a mark at 4" and 8". From those marks, draw a line with a pencil, all the way down to where it meets the fabric and add a third line connecting those lines.


(Don't mind that I can't sew a straight line.)


If you haven't already, iron the cloth diapers. They are usually very wrinkled from the packaging. Then take the material and fold down the long sides down about a 1/4" to a 1/2".


Welp, now you're done! You have just made a pregnant or nursing woman very happy. YAY!


